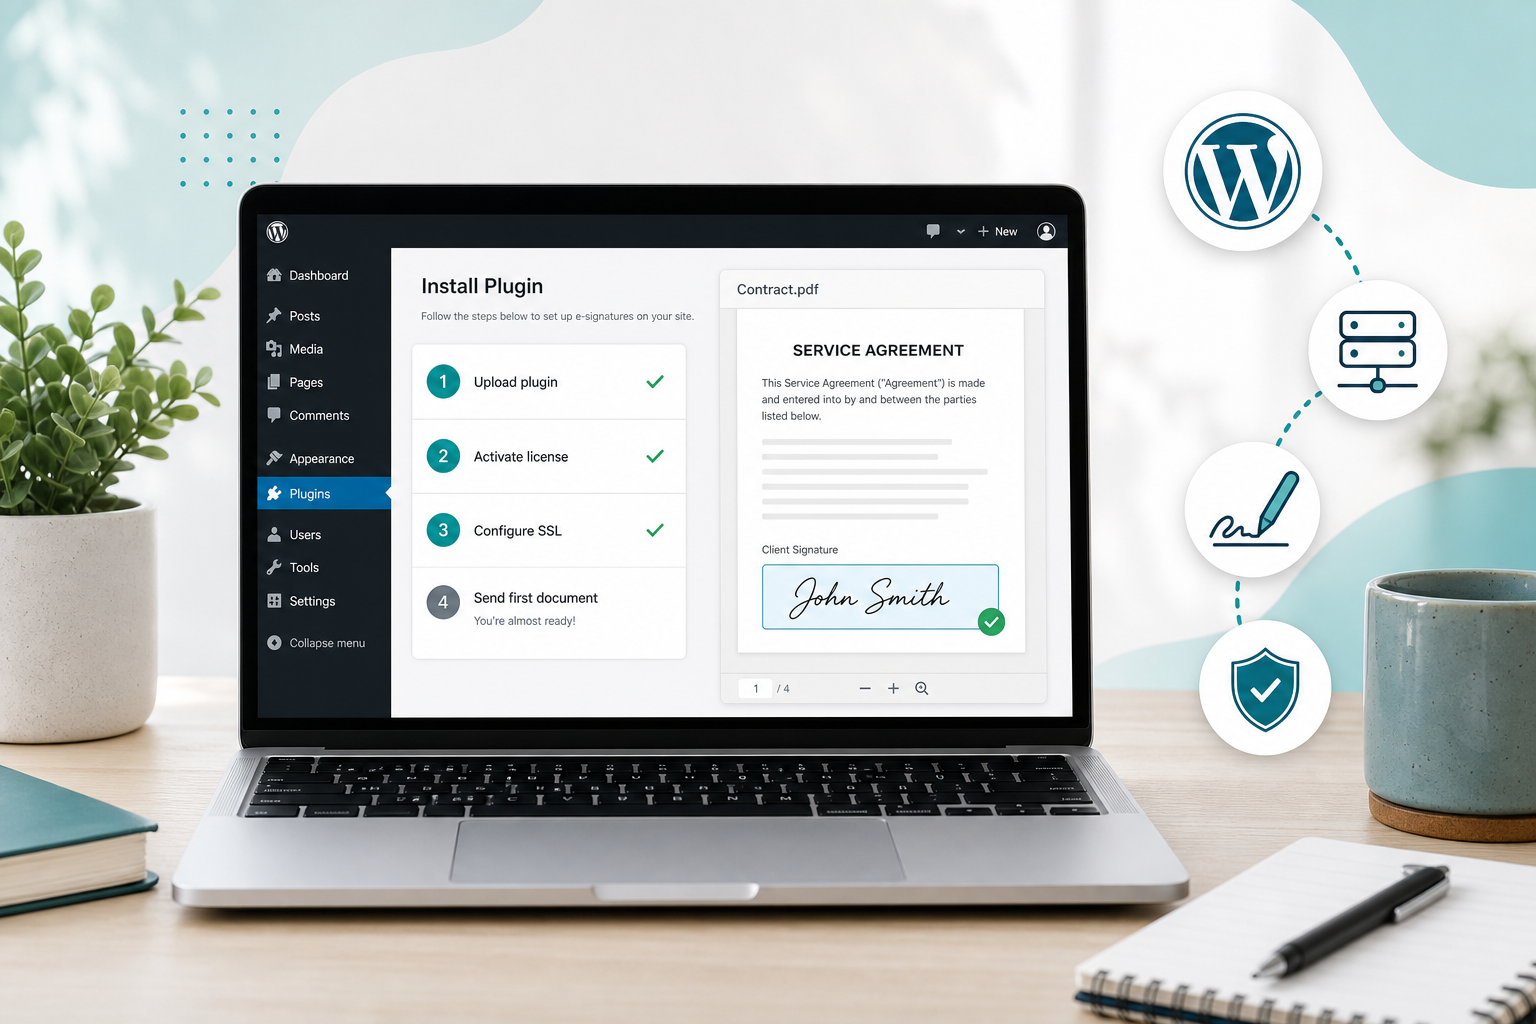
Cloud e-signature tools are convenient until the invoice arrives — or until a client asks where their NDA is stored. Self-hosted e-signatures keep contracts, signatures, and audit trails on infrastructure you control. If you already run WordPress, you can turn that site into a signing platform without spinning up a separate SaaS account.
This guide walks through a practical setup: why self-host, what you need, how to install, how to harden security, how to connect forms, and how to send your first document.
Why Self-Host E-Signatures on WordPress?
Data stays on your server
With DocuSign, Zoho Sign, HelloSign, and similar products, signed PDFs and metadata typically live in the vendor’s cloud. That creates data-residency questions for GDPR, client confidentiality clauses, and industries that prefer on-prem or region-locked storage.
A self-hosted e-signature workflow stores documents in your WordPress installation (and the backups you already manage). You choose the host, the country, and who can access the files.
Cost control without per-envelope math
SaaS pricing often mixes seats, envelope packs, and overages. Freelancers and small teams feel this quickly: every proposal and NDA becomes a line item. Self-hosted WordPress plugins usually charge a flat license — for example WPsigner’s annual plan — with unlimited signatures on your site. See pricing for current plans.
One stack you already maintain
If your business runs on WordPress, adding another vendor portal means another login, another integration layer, and another privacy policy to review. A WordPress e-signature plugin keeps templates, sends, and signed files next to the CMS your team already knows.
Requirements Before You Install
Confirm these basics before you upload any plugin:
- WordPress site with admin access — you need permission to install plugins and manage settings.
- HTTPS (SSL) — signing links and document delivery must run over TLS. Most hosts include Let’s Encrypt; fix mixed-content warnings before go-live.
- PHP and WordPress versions — match the plugin’s stated requirements (keep WordPress and PHP updated).
- Reliable email delivery — invitation and reminder emails should leave via SMTP or a transactional provider, not unreliable default
mail(). - Disk space and backups — signed PDFs and audit records grow over time. Confirm backup retention covers legal retention needs.
- License key — purchase and have your WPsigner (or chosen plugin) license ready for activation.
Optional but recommended: staging site for a dry run, and a sample PDF contract you already use with clients.
Install Steps (WordPress Plugin)
The exact UI labels vary slightly by release, but the flow is consistent:
1. Upload and activate
In Plugins → Add New → Upload Plugin, select the ZIP, install, and activate. Or install from your vendor’s account download if you purchased directly.
2. Activate the license
Open the plugin settings, paste your license key, and confirm activation. Until the license is valid, some features (or all sending) may stay locked.
3. Configure branding and sender defaults
Set the from-name, reply-to address, and any white-label options so signing emails look like your business — not a generic third party. This builds trust with clients who are about to sign.
4. Create your first template
Upload a PDF (proposal, NDA, SOW, or retainer). Place signature fields, date fields, and any text inputs the signer must complete. Save the layout as a reusable template.
5. Send a test document
Send to yourself first. Verify the email arrives, the link loads over HTTPS, the PDF renders, and the signed file downloads with an audit trail attached or stored.
When that path works, you are ready for real clients.
Security Checklist
Self-hosting shifts responsibility to you — which is the point. Use this checklist before production traffic:
- Force HTTPS site-wide; redirect HTTP to HTTPS.
- Strong WordPress admin hygiene — unique passwords, limited admin users, and preferably 2FA.
- Keep WordPress, themes, and plugins updated; remove unused plugins.
- Restrict who can create and send documents using WordPress roles or the plugin’s capability settings.
- Confirm file permissions on upload directories are not world-writable beyond what WordPress needs.
- Enable and test backups that include media, database, and signed document storage.
- Review encryption and audit options in the plugin (document hashing, audit logs, optional digital certificates). See the security overview for how WPsigner approaches these controls.
- Privacy pages — update your privacy policy to describe where signed documents are stored and retention periods.
Do not skip email authentication (SPF/DKIM/DMARC) if you send signing invitations from your domain. Spoofed invite emails are a common social-engineering risk.
Connect Forms for Automated Intake
Manual “upload PDF → place fields → send” works for ad-hoc contracts. Growth usually means connecting intake forms:
- Contact / quote forms — when a lead submits project details, trigger a proposal template prefilled with their name and email.
- Gravity Forms, Contact Form 7, and similar builders — map form fields to document merge fields so you stop retyping client data.
- WooCommerce — auto-send terms, licenses, or service agreements after purchase when your offer requires a signature.
Start with one high-volume document (for example an NDA or freelance service agreement). Automate that path first, then expand templates once the mapping is stable.
Send Your First Real Document
A clean first production send looks like this:
- Duplicate your tested template.
- Confirm signer name, email, and any merge fields.
- Add a short cover message that states what they are signing and why.
- Send the invitation and watch status (sent → viewed → signed).
- Download the signed PDF and store it where your business already archives contracts (or leave it in WordPress if that is your system of record).
- Start work only after signature status is complete — and after any deposit terms in the document are met.
Train one teammate on the same flow so coverage does not depend on a single admin account.
Common Pitfalls
- Testing only on localhost without HTTPS — signing links behave differently in production; use staging with SSL.
- Forgetting SMTP — invitations land in spam and clients blame “the signature tool.”
- Over-editing PDFs after fields are placed — re-upload carefully and re-check field positions.
- No retention policy — decide how long signed files stay online versus offline archive.
Next Steps
You now have the outline of a production-ready self-hosted signing stack on WordPress: install, secure, connect, and send. For product positioning and deeper feature context, read the self-hosted e-signature and WordPress e-signature plugin pages, then compare pricing against the SaaS tools you may be replacing.
If you already pay per envelope, run the math on the last three months of sends — then set up WPsigner on staging and complete one end-to-end signature before you cancel the old vendor.